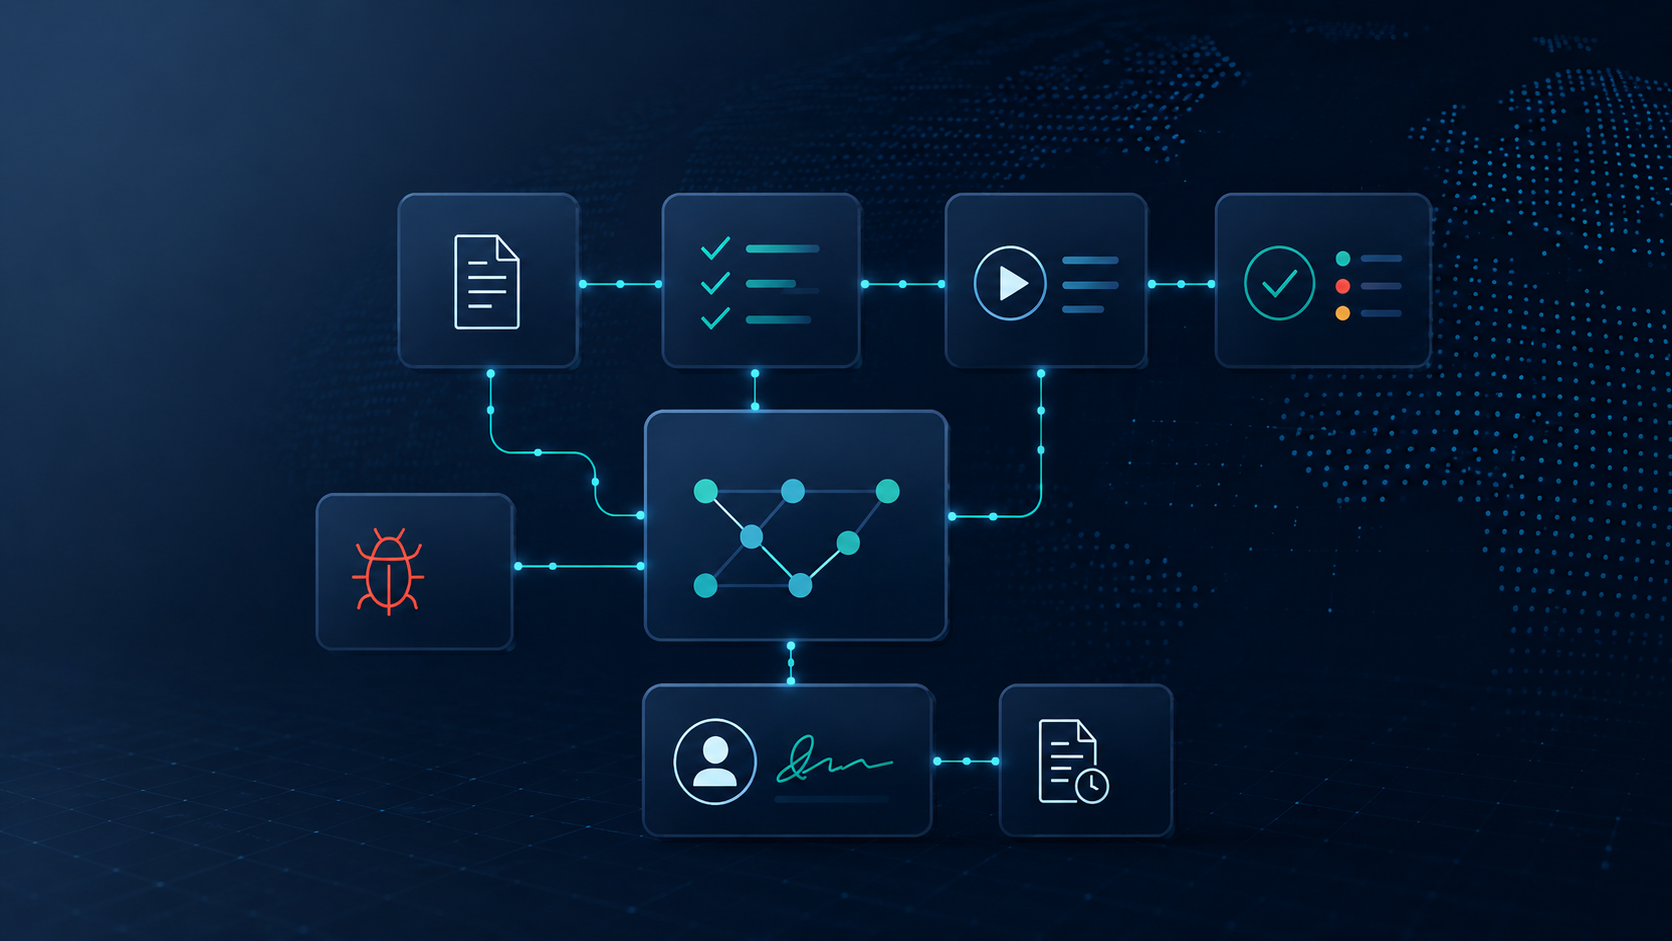
If you've set up an unattended process in your cloud-based UiPath orchestrator, it can be convenient to start its execution with a tap on your smartphone. In this blog post, I'll explain how you can implement such an integration using a simple process flow in Make .
You may already know that Make offers three modules for integration with UiPath . However, these modules require an Enterprise account, as Level 3 modules cannot be actively used in the free plan. My goal was to develop a simple integration solution for UiPath that doesn't require an Enterprise account. A free Make account allows two active scenarios simultaneously – which is perfectly sufficient for this implementation.
1. Configure API access in the UiPath Orchestrator
After setting up an unattended process in the UiPath Orchestrator, you need to configure API access. Proceed as follows:
1. Click on the menu grid and select Admin (the last option in the "Operate" section).
2. Navigate to External applications and under the «OAuth Apps» tab click on + Add application.
3. Enter an application name and select Confidential application.
4. Click on + Add scopes . In the Resource dropdown menu, select Orchestrator API access , switch to the Application scope(s) tab , enable at least the following permissions, and click Save : - OR.Jobs - OR.Execution.Read
5. (Optional) Enter a redirect URL (e.g., https://www.make.com ) and click Add.
6. Copy the App ID and App Secret – you will need these later to set up API access in Make.
The selected permissions (scopes) are crucial for gaining access to specific parts of the orchestrator via the API.
Now click on your profile icon in the top right corner, go to Settings and under Privacy & security select the option View API access . Copy the organization ID and name from the table.
The configuration in UiPath Orchestrator is now complete – now it's time to implement it in Make.
Swagger for UiPath
To view the available API calls, you can access the Swagger documentation for the Orchestrator API by /swagger/index.html to the base URL of your UiPath Cloud instance: https://cloud.uipath.com/{Organization ID}/{Tenant Name}/orchestrator_.
2. Implementing the process in Make
Our goal is to initiate a UiPath process from a smartphone with just a single tap. To ensure smooth implementation, we will test each step before implementing the final trigger.
2.1 Authentication
Log in to Make, click on Scenarios , and create a new scenario. First, add the HTTP: Make a request . Click on this module and configure it as follows:
- URL:
https://cloud.uipath.com/{Organization ID}/identity_/connect/token - Method:
POST - Body type:
Application/x-www-form-urlencoded

Under Fields, define the following four elements (the order does not matter):

Set the Parse response to Yes and click Save.

To get a response, click Run once or select Run this module only from the context menu. We need the value for access_token for all subsequent API calls.

2.2 Retrieving the Release Key
To run a UiPath job, you need the release key of the relevant UiPath package. Add another module, HTTP: Make a request . In the URL, enter the base URL appended with /odata/Releases. This is the basic version for querying release information. You might want to refine the query by adding operators like $filter for more specific results. For example: ?$filter=contains(Name,'MyText')&$top=1 (see https://docs.uipath.com/orchestrator/automation-cloud/latest/api-guide/building-api-requests).

Under Headers , two elements need to be configured. For the Authorization Header, enter the text Bearer and map the access_token from the data array by dragging it over from the response of the previous module.

To find the X-UIPATH-OrganizationUnitId , which corresponds to the numeric ID of a folder (OrganizationUnitId), navigate to that folder in your UiPath orchestrator and extract the value for the fid from the URL, e.g. /?tid=12345&fid=1234567 .
Set the Parse response to Yes and click Save.
2.3 Starting the job in the UiPath Orchestrator
Now we want to define our central API query for starting a job in the UiPath Orchestrator. We add another module, HTTP: Make a request . In the URL , enter the base URL, appended with/odata/Jobs/UiPath.Server.Configuration.OData.StartJobs. We use the POST and the same two headers from the previous query.

Select Raw as the Body type and JSON (application/json) as the Content type . Enter the following JSON structure in the Request content field (and map the value for ReleaseKey from the previous answer – don't forget to put the quotation marks around the mapped value):

You can execute this temporary query by using the first two modules defined above, but with this URL in the second module.
You can add more elements to the JSON payload as needed, e.g., "Source": "Manual" or "InputArguments": "{…}" (value in JSON format). At least the ReleaseKey is mandatory.

Set the "Parse response" option to "Yes" and click " Save" . You can find more information about creating this API query on the technical support page : https://uipath.my.salesforce-sites.com/CaseView/articles/Knowledge/start-a-job-using-Orchestrator-API
We now have the following process design in Make:

Now try running this make process. If everything is set up correctly, the UiPath process will start immediately or enter the "Pending" state.
2.4 Triggering the automation process
As a final step, we need to integrate a function that allows us to start our automation process via smartphone. You can use the Watch button module for Apple iOS or Android for this . First, connect your smartphone via the menu option More > Devices > Add device by giving it a name and scanning the QR code with the Make app on your mobile device. Then, create a button in the smartphone app . The name you assign corresponds to the button ID, which you will need to configure the Watch button module in Make.
Alternatively, you can choose the Custom webhook module . After naming it accordingly, copy the specific URL and access it once in a web browser. This will automatically define the data structure in the background (in our case, an empty structure). Place the trigger module at the beginning of your automation process and connect it to the following modules. You can use the auto-align functionality to make your module's design visually appealing, as shown in the following image.

Test the entire process by "Run once "—this will make the webhook listen for incoming data. The process will start as soon as the corresponding webhook URL is accessed. Finally, don't forget to activate. For a webhook trigger, you would typically select the pre-configured " Immediately". You can also save this URL as a shortcut on your smartphone's home screen for easy access with a tap when needed.
2.5 Expanding the scenario
Due to the multitude of possible API queries in the UiPath Orchestrator, you could, for example, extend this scenario by inserting a query for the status of a previously started job after a delay and sending the result to an email address. Remember that you can only use scopes in API requests that you have previously configured in the UiPath Orchestrator – as described in the first section.
3. Alternative Approaches
To achieve our goal, we used Make to start the UiPath process with a smartphone button. However, you can also execute the same API calls with other tools like PowerShell or Bash scripts. If you were using the UiPath Orchestrator app, you wouldn't be able to start a job with just a single tap.
4. Conclusion
In this blog post, we demonstrated how to configure an integration between UiPath Orchestrator and Make to remotely launch unattended processes. If you can't use the official UiPath module in Make, this alternative method offers a viable solution. By implementing authentication, retrieving the release key, and starting the job, you can efficiently execute UiPath workflows from your mobile device using a trigger.
If you need support with process automation using tools like Make or UiPath , please get in touch. We also offer UiPath as a Service .